
Making popsicles using herbal tea is as easy as making ice cubes, and you end up with a refreshing snack with much less sugar than the multicolored popsicles you find in the grocery store. Here’s your step by step guide to make delicious, healthy popsicles at home from tea!
First let’s talk about popsicle molds
It isn’t good to make these great popsicles and then have lousy molds. So, here are the best molds for making perfect homemade pops:
- Quick Freeze Molds: The name says it all, they freeze rather fast. That being said, you will pay for this convenience.
- PopsicleLab’s Silicone Popsicle Molds Not only are these popsicle molds dishwasher safe (which is always a win in my house), but they are super easy to remove the popsicle from the mold. You don’t have to worry about fighting with the handle to get the popsicle loose.
- Push Pops: Okay, so we want to avoid single use plastic whenever possible, but sometimes you just have to have a popsicle on the go, and isn’t it healthier to have a popsicle that you made with wholesome ingredients than one with processed ingredients?
HOW TO MAKE CREAMY POPSICLES
Which is your favorite kind of popsicle fruity and light or creamy? For me it depends which kind of mood I am in.
So, you have a couple options when it comes to making creamy popsicles. You could use Greek yogurt, which is my go to when I am making home made popsicles. Since the water content is low, this will result in less icy popsicles. They are higher in protein too. You can also use coconut milk (full fat only). But just because you can taste the sweetness with coconut milk or Greek yogurt, this isn’t enough to sweeten popsicles. Make sure to add some honey or maple syrup to sweeten your home made popsicles up.
HOW TO MAKE TEA POPSICLES
Start by boiling water. I like to make about a dozen popsicles at a time, but not many more. Because they don’t contain preservatives, your homemade popsicles are much more likely to absorb that unpleasant “freezer” taste than the store-bought ones, so you shouldn’t make more than you can eat fairly quickly. Of course, once you taste them, you might need to refresh your supply frequently! But don’t worry… making homemade popsicles only takes about ten minutes of hands-on prep time.
Once you’ve boiled your water, pour it over several tea bags in a large bowl, about one teabag for every two eight-ounce popsicles. Make sure you pour the hot water over the bags… any tea purist will tell you that the flavor just isn’t the same if you drop the bags in hot water.
You can use all varieties of tea, but I like ones like raspberry or apple, because they not only impart flavor but a little bit of color. There’s something that just doesn’t feel right about eating a completely clear popsicle, even if it is tasty.
Make sure you allow the tea to steep for long enough… taste the hot tea if you are unsure. It should be a bit more flavorful than you drink your hot tea: once frozen, you, of course, lose the sensation of heat, and this is what imparts much of the pleasure of drinking tea. As with ice tea, tea popsicles should have a stronger tea flavor than your average mug of hot tea.
Next, you should add simple syrup or honey. Avoid granulated sugar or corn syrup: sugar is less likely to dissolve evenly throughout the popsicles, and corn syrup is best avoided whenever possible. Here, you’re going to need to add sweetener to taste. Depending on the tea you used, you may not want to add any at all, although if you’re giving these to kids, they may want something a little sweeter. Make sure you mix the batch of tea and sugar well and dispose of the tea bags.
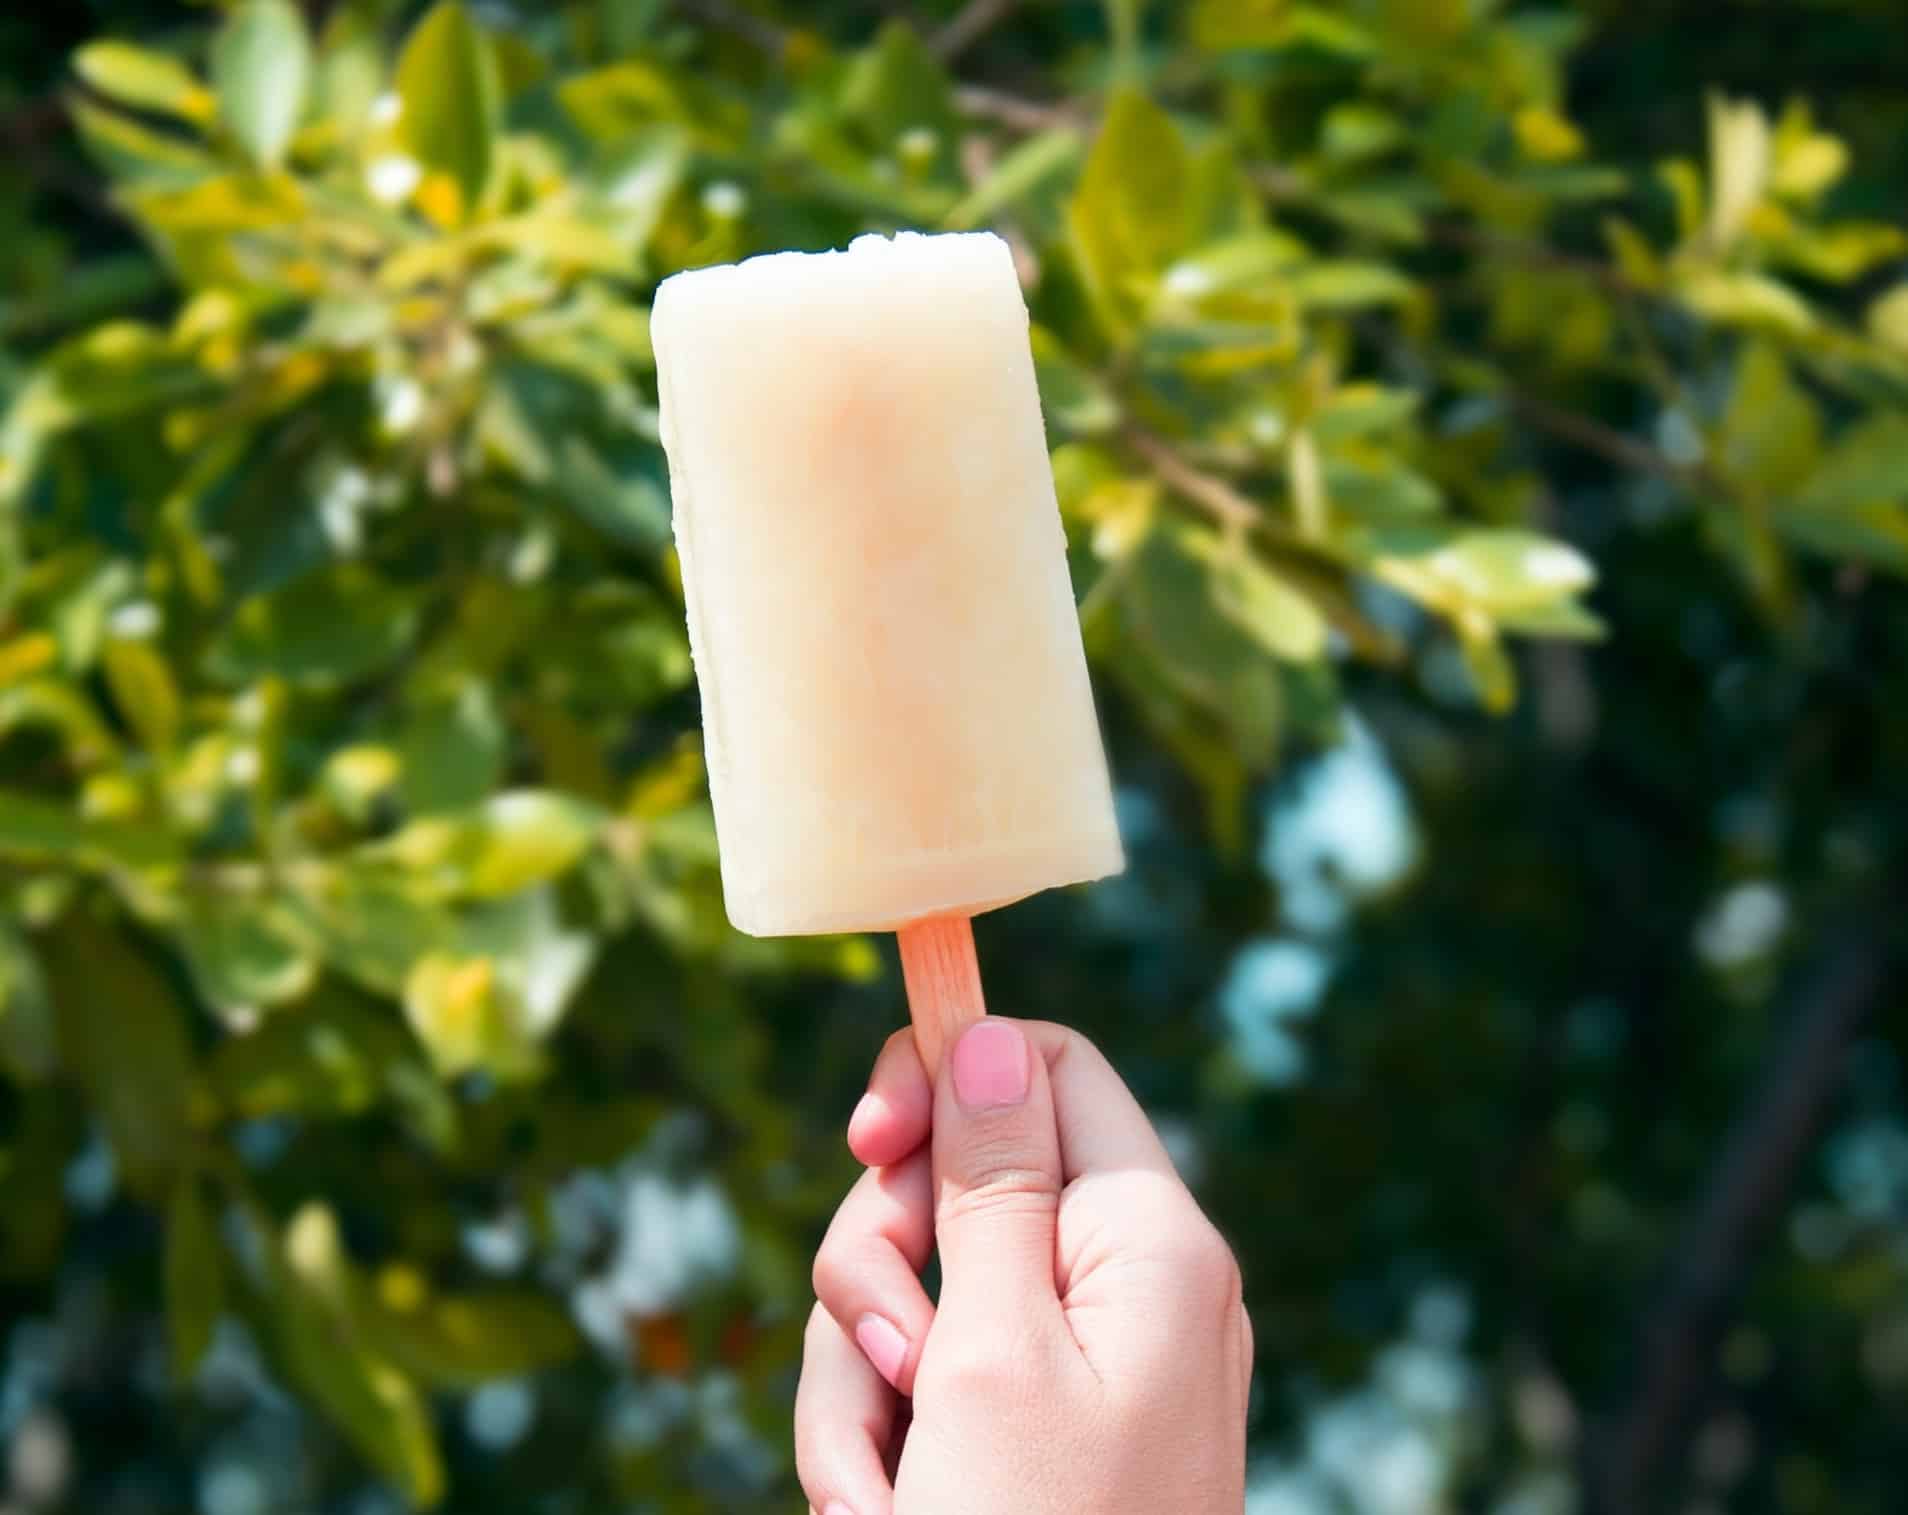
You can use a berry flavored tea to give your popsicle more color or it will be less pretty but still tasty!
Pour the tea into 8-ounce wax Dixie cups. Cover each one with foil and stick a popsicle stick through the center of the foil. Make sure the stick doesn’t quite reach the bottom of the cup, or it will poke through the top of the popsicle… stopping about a centimeter above the bottom should be enough. If you can’t tell where this is, push the stick all the way down to the bottom of the cup, and then pull it back out just a little bit. The foil should stop it from slipping back down into the cup or from tipping over.
Line all of the cups on a baking tray and slide into your freezer. You’ll have a sweet, refreshing treat in just a few hours: just peel the wax cup off of the popsicle and throw it away!
Note: If you don’t want to use foil, you can just freeze the popsicles until a thin layer of ice forms over the top. This should take about half an hour to an hour.
Poke the stick through the layer of ice, and put the cups back in the freezer to freeze entirely. You can also make your popsicles in reusable plastic Solo cups if you like… just rinse each one under hot water for a second, and your popsicle should slide out easily. Enjoy!